Friday, March 15, 2013

post snow day


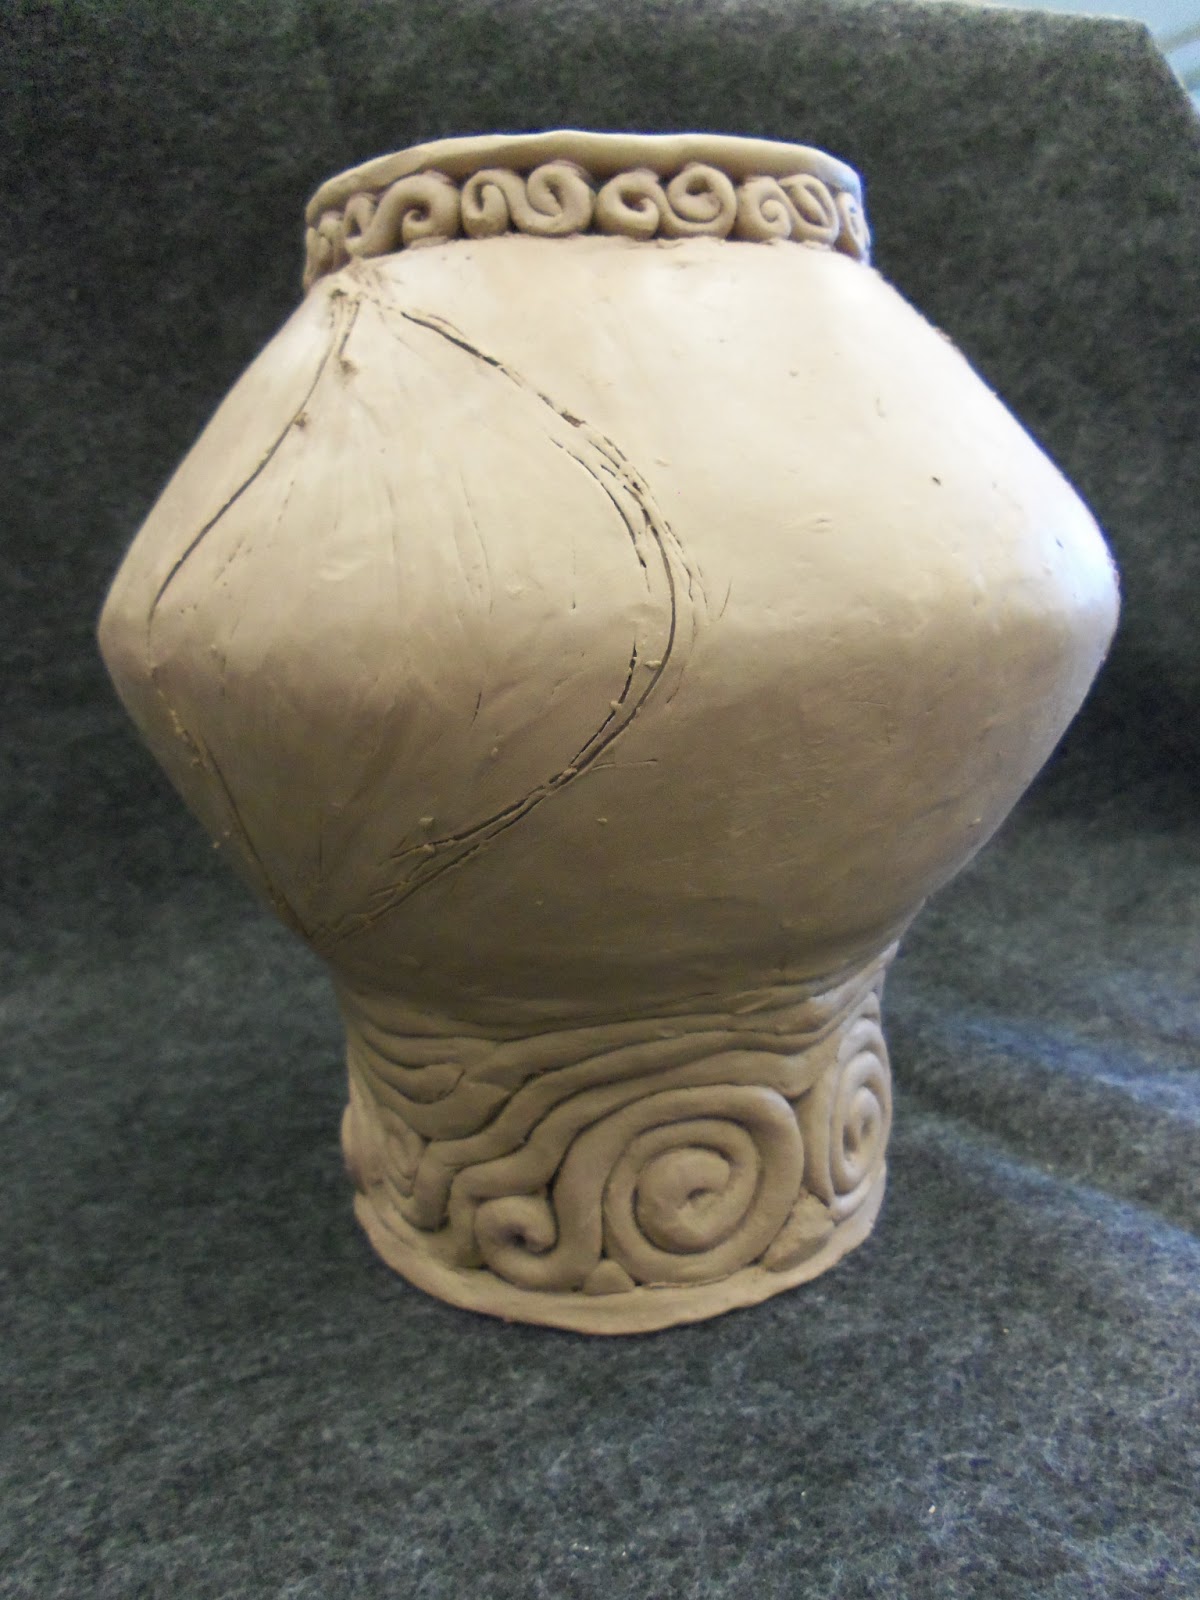
I am currently working on the covered container project.  When doing this project it is important to cover the hump mold completely, make sure to remove the poject from the hump mold when leather hard, and to cut the lid at an angle so that it does not fall through.  In this project I am focusing on the element of balance and emphasis with both stamps and carvings.

3rd quarter project

You should take clay off the board when the clay is leather hard.
The element of design and priciple I focused on during my cup project was balance as I strived to make each cup the same with a symetrical silhlotte.
I learned how to better control the clay on the wheel through this project.
I would have probably added line desgins to my cups if I had time to make them more interesting.

Friday, February 15, 2013

February Post


I am currently working on the six cup project using the wheel.  I have thrown six cups, but have not trimmed or added handles to them yet.  I feel that I am somewhat behind as I was having trouble throwing cups properly. I have fixed this problem by coming in during lunch for help.  I feel that throwing cups are easier now though I would not conceder anything in this project so far as easy.

Monday, January 14, 2013

End of the Semester/ Happy Holidays

Leather Hard - Clay which has dried sufficiently to be stiff, but is still damp enough to be joined to other pieces.
Bone Dry - Clay that is completely dried but not yet fired.  Clay forms are most fragile at this stage.

Projects from this semester:


When connecting slabs, it is important to have the clay leather hard so that the clay will keeps its shape, but still have enough moister to connect with other slabs.  Having the clay to wet will cause the structure to be misformed or collapse.  Have the clay too dry with cause the slabs to come apart.

Friday, November 16, 2012

Glazing (part2) and wheel

I have already finish glazing for both my pinch pot and Coil piece.  All types of glazes and techniques are metioned in the previous post.  As far as what I could have done better, I should have tried to make the dunk glazes more even by rubbing some of the thick glaze off between dunks for both my coil and pinch pots.  For the concept glazes, I should have be mor concistent with my glazing because some of the spots came out to thin.  I have worked on the wheel for the past few weeks and have completed my 6 inch cylinder.  I am now working on smaller pieces on the wheel which I am very excited about.

Friday, November 2, 2012

Glazing

I have completed my pinch pot and coil pot and need to glaze my extra credit project for the second time.  The glazes I used for my pinch pot were, Blue rutile (bucket), Dark Blue (bucket), and concpet glazes.  I used Second Hand Rose (bucket) and Turkish Amber (bucket) for my coil pot.


It is important to wash your hand and wipe your project before glazing because any dust that sticks to the project will prevent the glaze from coming out evenly.  You need to apply was resist to the bottom of your project if you are using bucket glazes to prevent glaze from sticking to the bottom and fusing the projec to the keln when firing.  When using a bucket glaze, you should dunk the project for about a second to the second and a half.  You cannot brush on bucket glazes because the glaze will not fire evently.

Friday, October 12, 2012

coil project and extra credit

I have completed hand building my coil project and it is currently in the kiln (so unfortunately no pictures this week).  I am also working on an extra credit project which was made with the extruder and is being glazed with under glaze (glaze that can be painted before the first firing).


For my coil project, I found making consistent coils challenging, but I was eventually able to make them relatively similar in size.  I changed my original silhouette to be slightly shorter and wider.  This was realistic as my original plan would have caved in on itself.  Overall I am pleased with this project, though there can always be improvements.

Friday, September 28, 2012

Where I am today

Currently, my pinch pot has been fired, but still needs to be glazed.  Also, I am almost done building my coil pot (seen above), though there are still some things that need doing.


In regards to my pinch pot, the shape was not what I imagined it would be.  This was partly due to the fact that I was not quite sure how I would shape the arcs at the top.  after carving the base of the arcs from the pinch pot, I was able to attach an extension to make the arcs and then experiment in the shape. I did this until I found the most pleasing shape.  I don't think I would change anything about my final product.  Though I don't believe it is perfect (there are still some slight error in symmetry), I feel it is a good representation of my starting skill.  I hope through out the year I can continue to improve.

Friday, September 14, 2012

Pinch Pot: Vase


Slip and Score is a technique to connect two independent pieces of clay.  You slip and score by making shallow cuts on both edges of the clay and then "gluing" it together with slip (watered down clay).  slip and score is important to connect pieces of clay and prevent them from coming apart.


The focus of this project was to show that I had control of the clay.  This was shown by making my project symmetrical.  I did this by making circular pinch pots to work with.  I also paddled, smoothed, and carved the clay to get the most symmetrical shape I could.

Thursday, September 6, 2012

Elizabeth

A person that I admire is my older sister, Elizabeth.  She is wildly artistic and extremely talented in all elements of art (painting, ceramics, sketching, etc.).  She is also academically strong and has a wide circle of friends.  In short she is all I aspire to be.  With this said, her presence in my life has pushed me to do my best; to attempt to reach her level of accomplishment. Without her I don't believe I would have the drive I do now to go outside my comfort zone or to go that step further (no matter how small).